Photos + Tutorial by Bonnie Kaye Whitfield
It takes just a few extra minutes to turn your gift into a conversation piece. Here’s a super simple tutorial to create fun 3D Geometric shapes on the top of your package for the next upcoming summer party you attend.
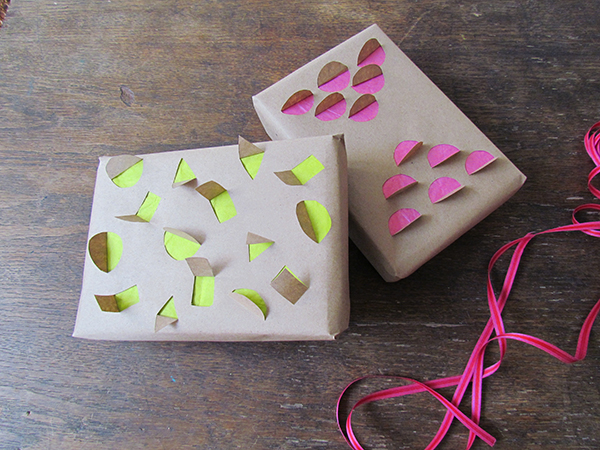
You will need:
box to wrap
colorful tissue paper
brown kraft paper
cardboard or chipboard
scissors
exacto knife
self-healing mat
tape
pencil
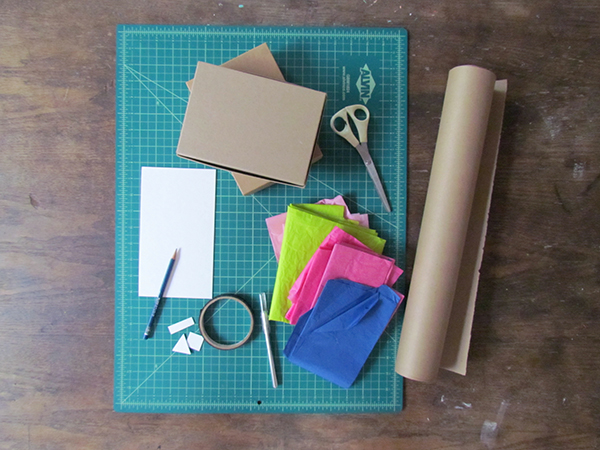
Gather your materials. Grab whatever tissue paper and solid wrapping paper you have on hand.
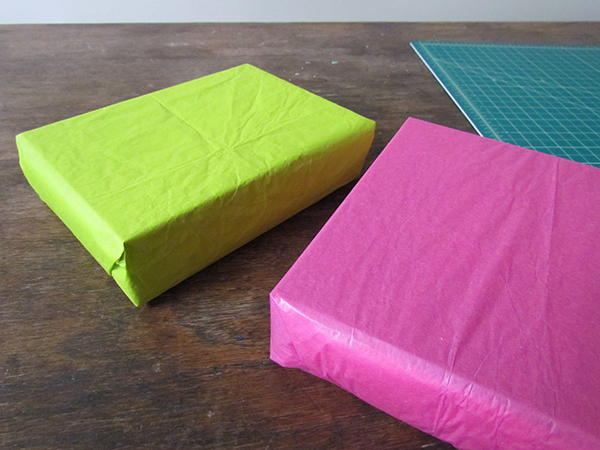
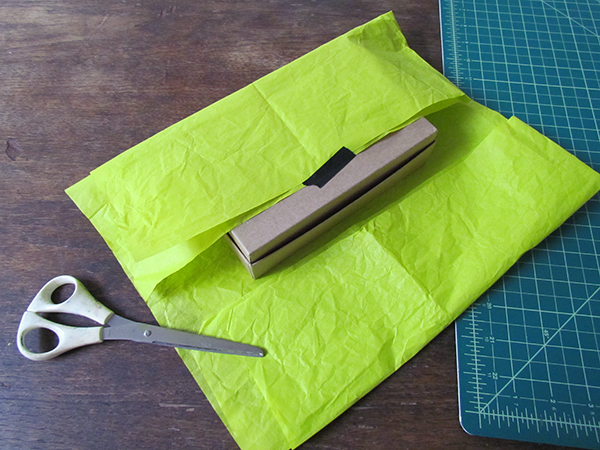
First, wrap your packages in the tissue paper.
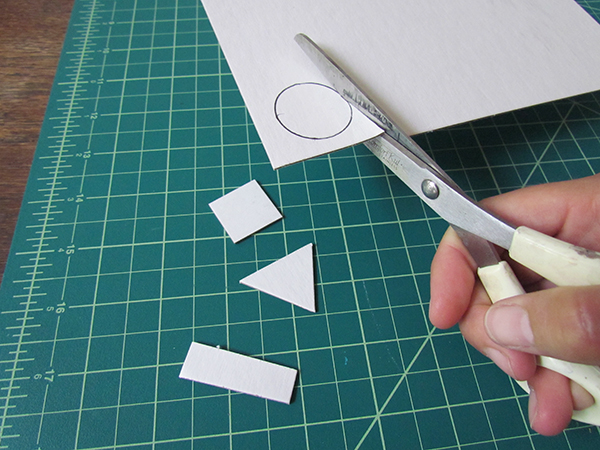
Put your packages aside and begin to draw and cut out simple geometric shapes out of your cardboard or chipboard. Keep your shapes small, under 1” in any given direction.
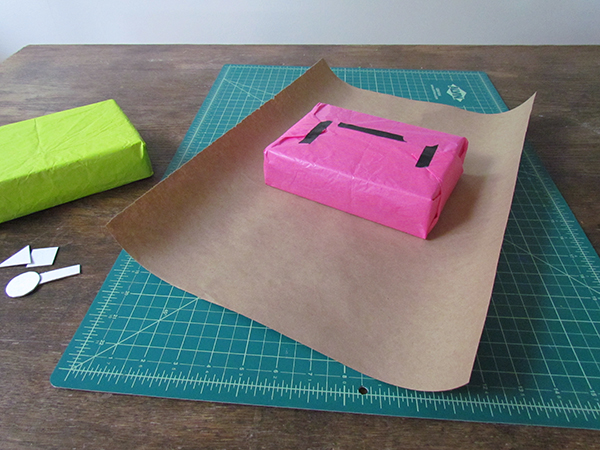
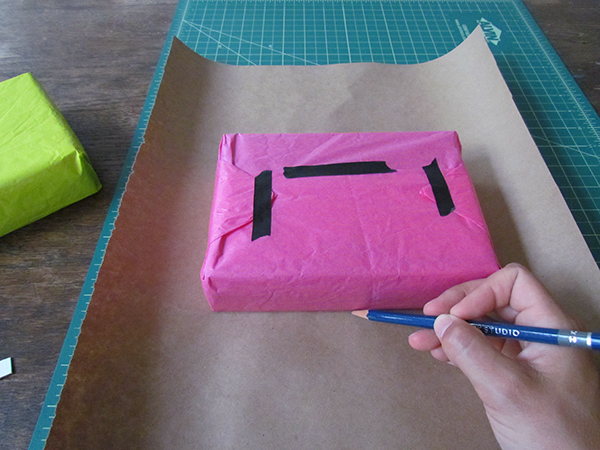
Next, cut a sheet of your solid wrapping paper, large enough to wrap your package for a second time. Place your package in the middle of the sheet and trace around the edges of the box.
Grab your cut out shapes and begin to trace HALF of the shape within the outline of the box. For example, if you cut out a circle, only trace half of the circle. You want to make sure that half or at least one side of your shape stays connected to the wrapping sheet. Play around with patterns and arrangement with your shapes.
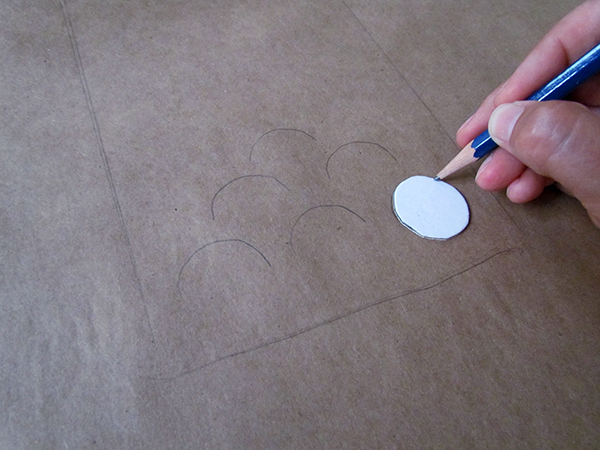
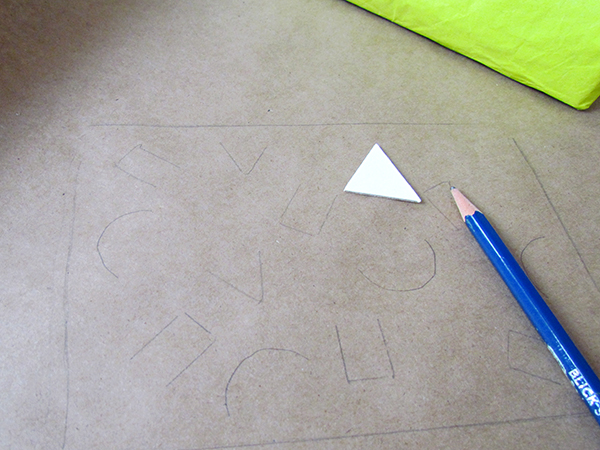
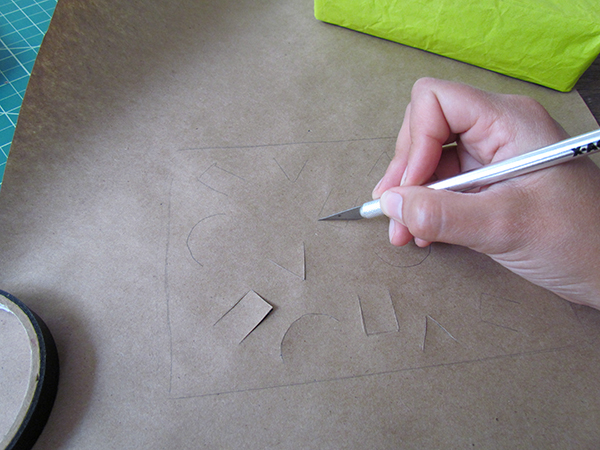
Using an exacto knife, carefully cut along the lines that you traced.
Place your box inside the outline that you originally traced and now wrap your package with the wrapping paper. Flip the box over and carefully fold back all your cut shapes. (Tip: I like to use the blade of my exacto knife to help get under the cut slits. Makes for easier grabbing and folding of the paper.)
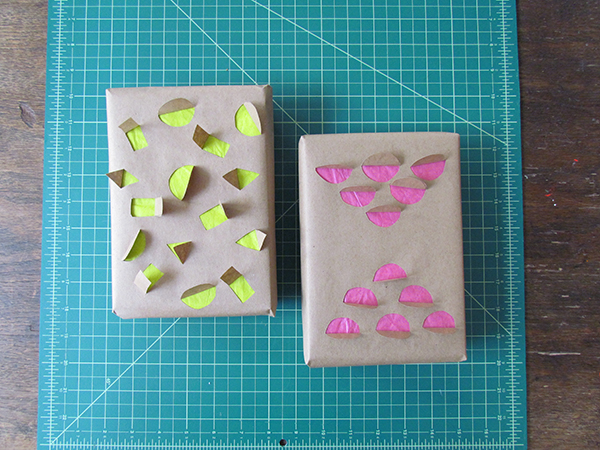
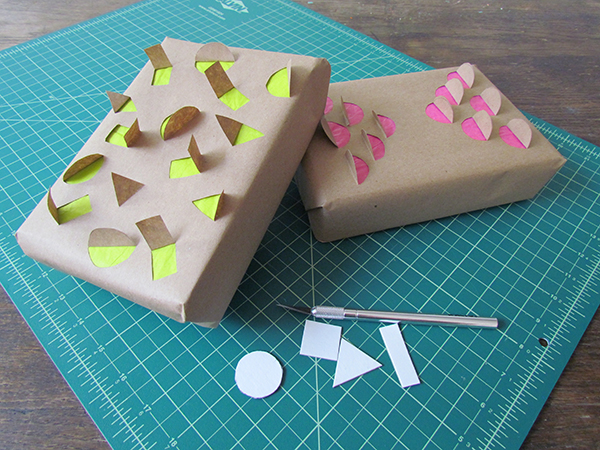
Now you can go wow all your friends at your next birthday/babyshower/wedding!!
——————————————————————-
Bonnie Kaye Whitfield designs and screen prints home textiles + paper goods under the name, Bonnie Kaye Studio. Products are created to inspire memories at home and around the table. A donation is made with every purchase to help feed hungry Americans.