Photos + Tutorial by Bonnie Kaye Whitfield
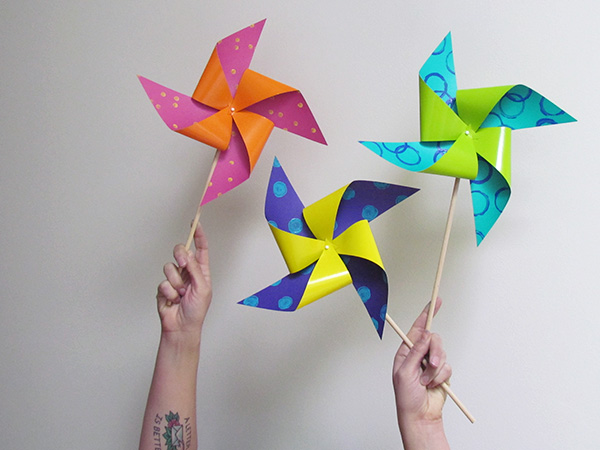
Ever since I was a kid, I’ve loved pinwheels. This printed version of pinwheels is a perfect way to lift your spirits after months and months of winter. Make as festive decor for your next party or create with your kiddo on a rainy day.
You will need:
- square cardstock, ideally different colors on each side
- scissors or x-acto
- ink for printing, either water-based block printing or stamp pads
- ink tray + brayer if using block printing ink
- circular tools for printing – pencil eraser, wine cork, empty cardboard tape ring
- dowel rods
- small tacks/pins
- scrap piece of cardboard
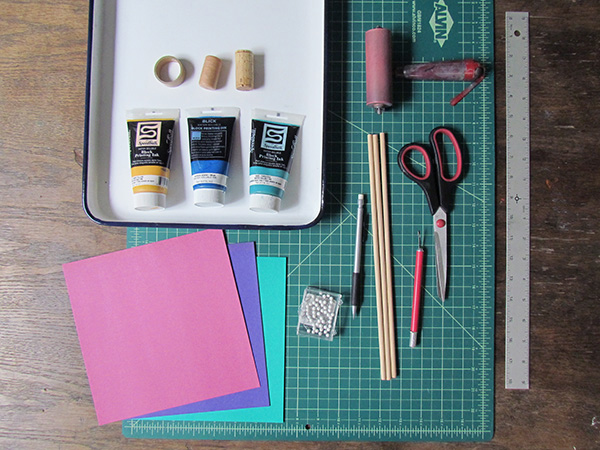
Gather your materials. Try to work with colored cardstock. You can test out other papers to see if they hold up to lots of blowing and twirling. If you have colored ink pads (I didn’t…) then I would use those before turning towards block printing ink, as the prints will take less time to dry.
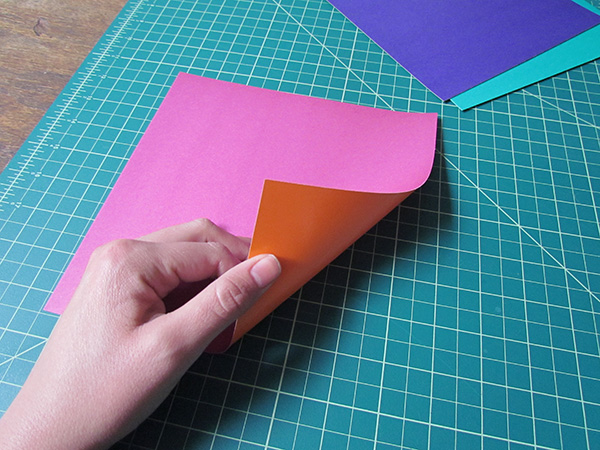
If you can find paper that is different colors on each side, it will add to the colorful pop of the pinwheels. If not, no biggie. Just work with whatcha got.
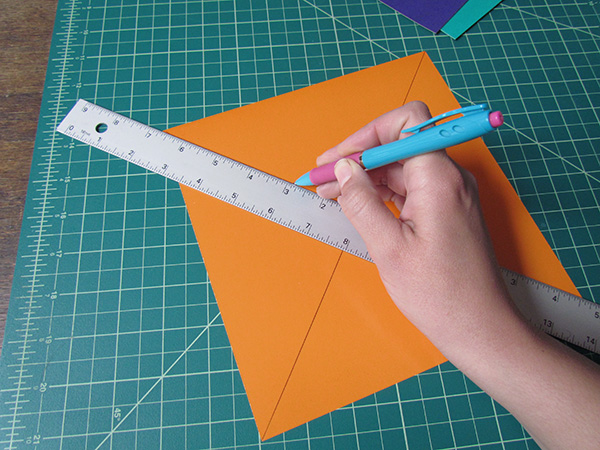
Before you begin printing, go ahead and draw two lines of the backside of your printing side. Use a ruler and a pen to line up opposite corners and draw a line, making a big X across the paper.
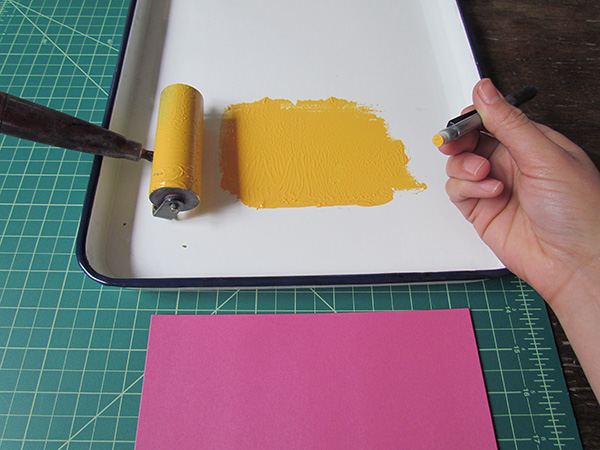
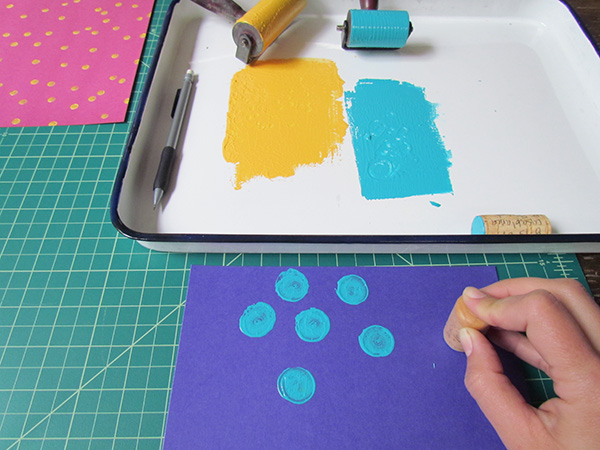
Now for printing fun! Roll out some ink in a tray. Dip your pencil eraser in the ink and go to town. Pencil erasers make the perfect tiny dot.
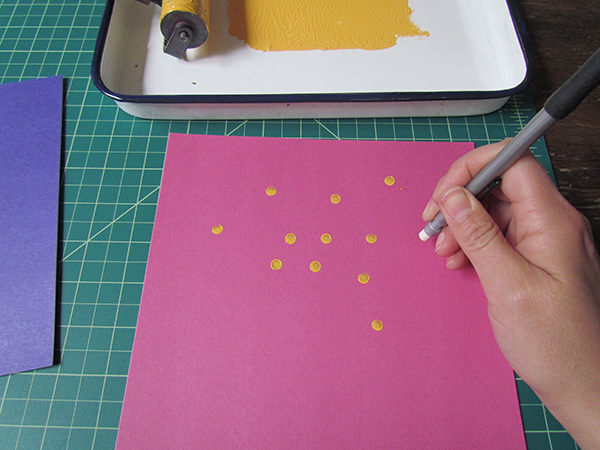
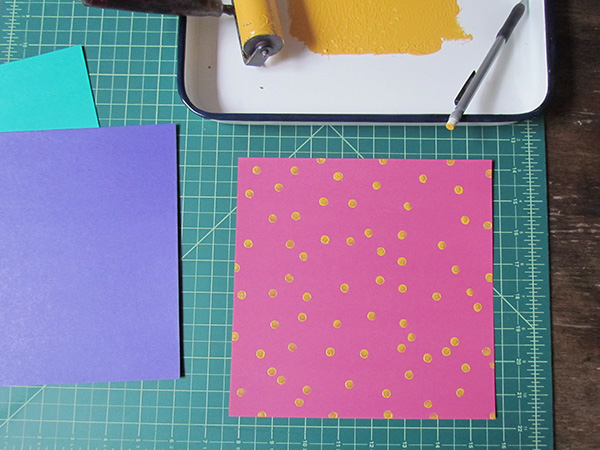
Feel free to just use a pencil eraser for all your printing, or grab some other circular items to print with. Here, I’m using a wine cork for a larger circle blob.
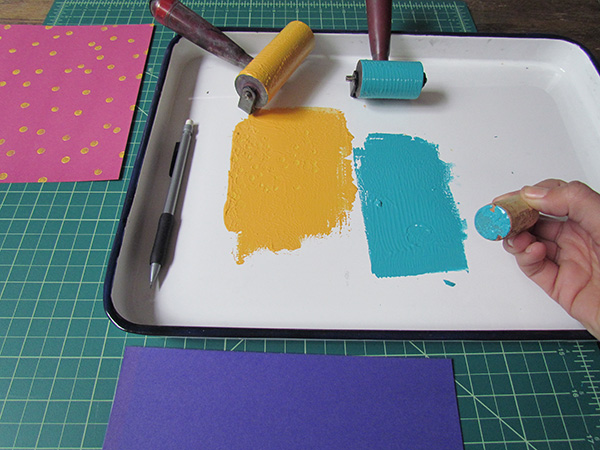
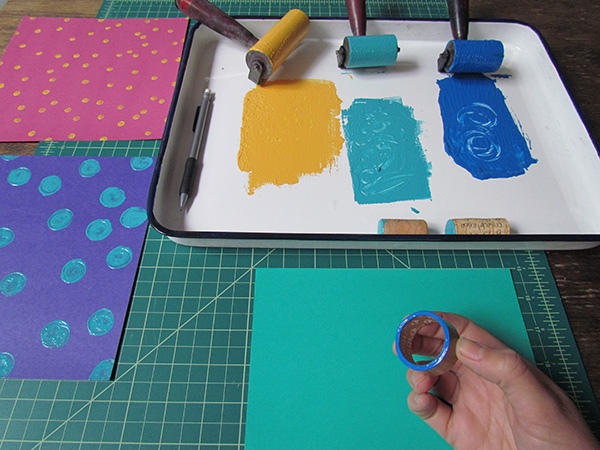
I also had an empty tape roll on hand. I recommended scouting out other circular items in your recycling bin, like a toilet paper roll or yogurt container.
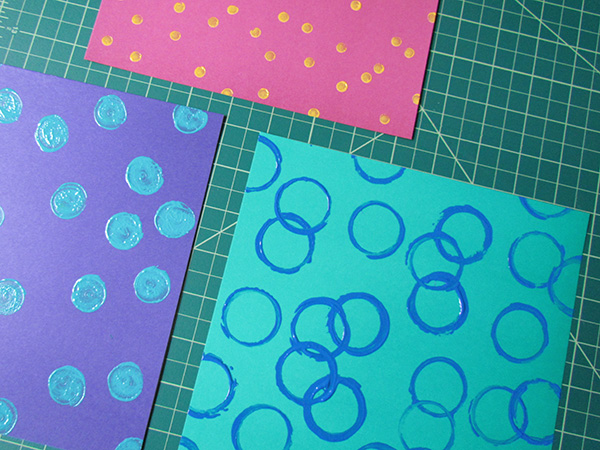
After the prints have thoroughly dried, grab your scissors and begin to cut on the lines that you drew at the beginning. Cut on each line until you get about an inch away from the center point – then stop!
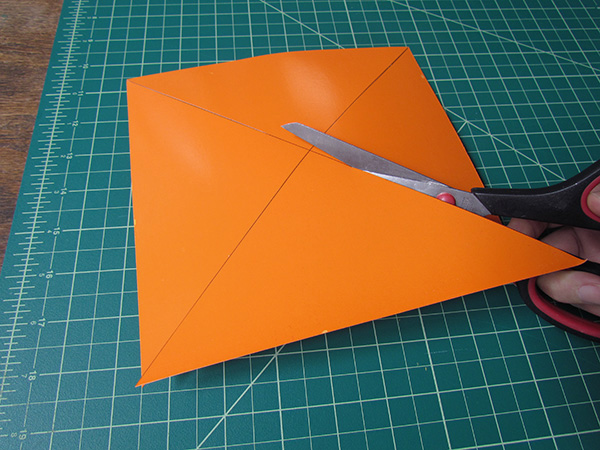
Now for the only tricky part … pinning them all together. First, unless these are going to be purely decorative and you don’t want them to spin, you’re going to want to cut out a few dime-sized circles out of cardboard. This will help the pinwheels spin. Set the cardboard circles aside.
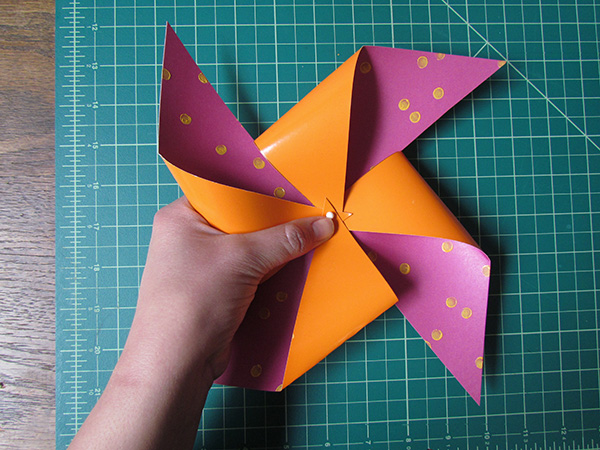
Begin by folding down every other corner of the pinwheel and hold in one hand. Grab the pin with your other hand and push through the center, making sure you are going through all 4 corners that you are holding down. Grab one of your cardboard circles and press it in between the paper pinwheel and the wooden dowel rod. I find that a couple long presses in the dowel does the trick for me, but then again, I don’t have a 4-year-old that’s going to run around with it. So if you do, you might want to add a dab of glue before jamming into the dowel.
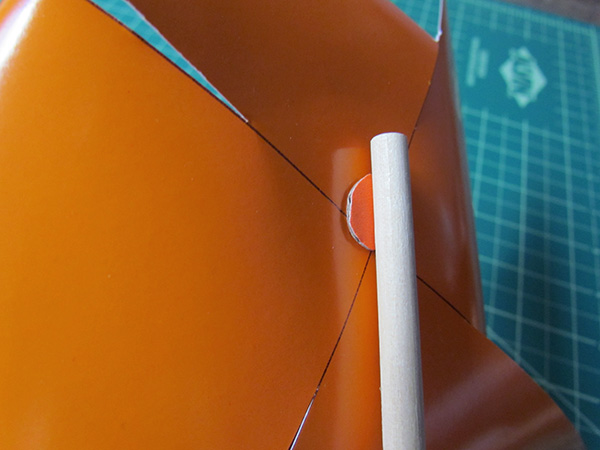
Lastly, if you really want some good spin action, you’ll need to play around with moving the paper around so that it it doesn’t hit the dowel rod when you try to spin it.
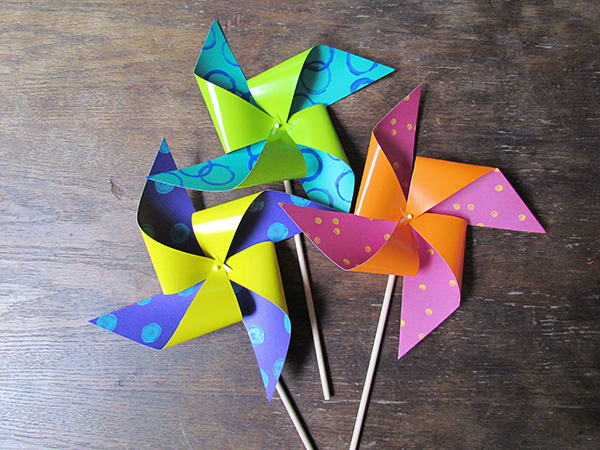
So there you have it – springtime pinwheels + insta mood lifter!
———————————————————————————————————————————–
Bonnie Kaye Whitfield designs and screen prints home textiles + paper goods under the name, Bonnie Kaye Studio. Products are created to inspire memories at home and around the table. A donation is made with every purchase to help feed hungry Americans.